Alternative Process Tipster: Developing Lomography Lady Grey B&W ISO 400 with Caffenol
11 26 Share TweetIn 1995, during a chemistry class in photography, professor Scott Williams of the Rochester Institute of Technology studied a way to develop a black-and-white film with household ingredients. Each component is sold in supermarkets, and this is what makes Caffenol an affordable developing technique, with lower environmental impact. You can drown your solution down in the sink as the composition is made with instant coffee, washing soda, vitamin C, iodized salt, and water. Since then, many recipes have sprouted on the internet. I decided to follow a well-known formula, for a 400 ISO film. My film of choice was the Lomography Lady Grey B&W ISO 400 film.

This process works by mixing the acid component of the Caffenol ( which is not related to caffeine) vitamin C, also a developing agent, and the washing soda that will make your solution alkaline and activate your developing components. Salt is needed to reduce the fogginess in the negatives. An important note about instant coffee is that the cheapest and strong ones are better as we need the chemical component of cafeic acid to get greater results. As for the washing soda, the powder solution is usually recommended. In this tutorial, we used crystal-based washing soda, therefore the quantity has been adjusted to work.
Ingredients
- 500ml water
- 20g instant coffee
- 5g iodized salt
- 8g of vitamin C
- 72g of washing soda
Note: Scale to measure


Mixing Preparations
After a pleasant day of shooting your film, the first step is to roll your exposed negative in your reel and then insert it in your developing tank (pictures below for steps 1 and 2). Make sure you do this step in complete darkness. Once your negative is securely in the tank, start your mixture.
Mix 200ml of water at 20°C with 20g of instant coffee, stir thoroughly and let the mixture rest for a few minutes to allow the bubbles to break apart. In a different container, mix 300ml of water with washing soda, vitamin C, and salt. Stir thoroughly. This will ensure you see clearly that all the components have dissolved. Once you are ready, mix the two and pour them into your tank.


Develop and Fix
Developing Stage
You must start your timer as soon as you start pouring your mixture into the tank, as this marks that the developing process has started. I determined that, given some mild changes due to the different ingredients that I found, my developing time should have been 15 minutes. I agitated for 30 seconds every minute. Make sure that when inverting upside down your tank, you do a gentle, wavily movement of your wrists.
Once time has passed, you can dump your solution down the sink and rinse it through.
Fixing Stage
Leave your negative in the tank as now you have to fix your film. Follow the chart for ratio and time. I used Ilford rapid fixer and a 1:4 one part fixer, 4 part water, for about 5 minutes. Dispose your fixer into a dark bottle and make sure you label the solution with date and name as you will be able to reuse it until it runs out of life. Then dispose of it accordingly to your local collector. You may opt to choose more eco-friendly products as they exist in the market.
Washing, Drying and the Results


Washing
After you are done fixing, it is time to rinse your negatives. To save up some water, and keep the process as low impact as possible. I filled the tank with running water once. Then I refilled the tank and agitated carefully for another 30 seconds. I agitate energetically, to clean as much as I could. Then repeated for another two times. Some people also add a step, and with a drop of dish soap, run the last washing. For this instance, I skipped this part. Remember that if you do wash with soap, you must clean the soap thoroughly.
Drying
Patience is a great ally when it's time to dry your negatives. I recommend placing your film in a dry room (not too close to heat to avoid melting). I left them hanging overnight. The day after, they were ready to be scanned. I have never tried to dry with a blow-dry. Personally, I'm not a big fan of this as I feel it could contaminate your negatives with extra dust. Film processing is already a slower job; to wait a bit longer is not an issue. At that point, blow-drying is not worth the risk for me.


Overall this was a great process. Rumors on the internet say that it has a terrible smell, but I found that not true. Completely odorless and easy to manage. It was the first time for me that I developed with Caffenol. I was happily impressed with the results.
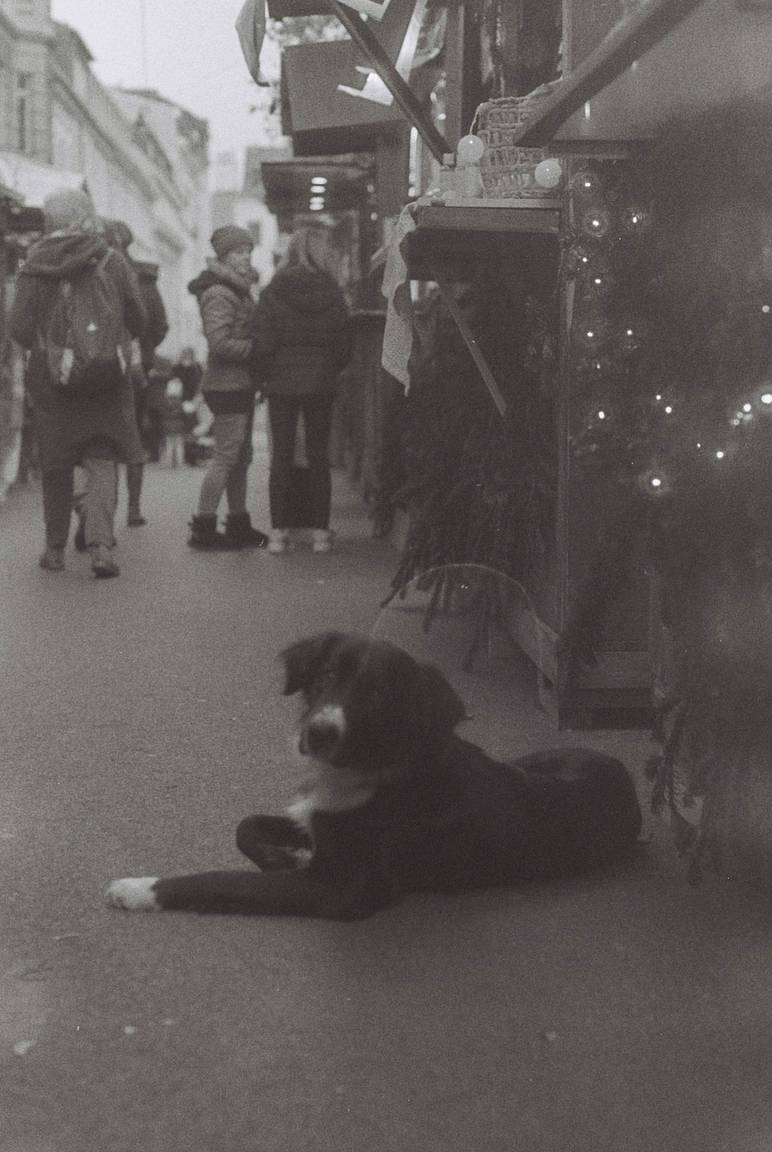
To me, choosing a film, it's a decision that, should be made before shooting. Depending on which atmosphere you want to achieve. Regarding the Lady Grey B&W ISO 400, you'll get a gorgeous look. I appreciate the subtleness of the fine-grain in this film. I found it to be quite elegant and delicate. It is an integral part of the story you want to tell rather than something that takes the center of your attention turning invasive, or overshadowing the image. I think the low contract is also quite appealing from this film. It is gentle and leaves space to wonder in the picture. These two are the decisive factors that make the details accurate. In doing so, you still keep your eyes on the pictures, which is all a photographer wants.
We would love to see how this recipe works for you, what you come up with, and experiment with different ratios in the ingredients. There are several recipes online that you can experiment with. Don't forget to upload your black and white photos to our Community. We look forward to seeing your work and enjoyment of this process.
written by eparrino on 2021-12-11 #tutorials #black-and-white #alternative-process #home-development #alternativeprocess


11 Comments