A Classic Analogue Trick: Expose Both Sides Of Your Film
9 9 Share TweetOften, when we shake up the rules of photography, we expand the possibilities of what we can create. You might be familiar with the term Redscale. To redscale a film is to shoot your images on the reverse side of the film, having the plastic side of it hit first by light. This will tint your images in shades of orange and red.
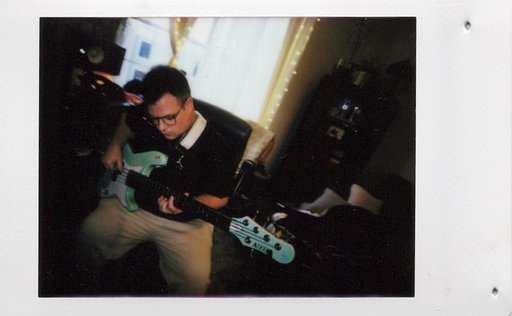
One of the beauties of this technique is that we can create stunning double exposures by shooting both sides of the film. If you want to expose both sides, you will shoot one side first and after flip your film and do the second.
You can either plan to shoot one side of your roll with one subject, for example, portraits, and the second one to create textures with flowers and plants. Or you can use a splitzer and divide your frames in half. It's up to you!
So how do you redscale your film? Firstly open your box of Lomography Color Negative 35 mm ISO 400 and load it in your camera. Then mark your film to see where your first frame is going to be, in both ways - a crucial note to have once you flip it.
After completing your roll, it's time to turn it upside down. This step must be done in the dark. Have a pair of scissors ready, some tape, and an old film leader to patch. Pull your film out of the canister and cut the end. Leave two centimeters of your end, to tape it back in reverse, now rewind it inside. Disclaimer: taping it backward means the emulsion side is facing you.
From this point on, you can work in the light again. Leave a few centimeters out to see where your mark is on your first frame. Tape the leader and be careful to match your original first frame to the same exact location, to have perfectly aligned frames.
When it is time to shoot in reverse, you should take into consideration that the light will pass through the plastic side of your film first. This is what will turn your images orange, however is also a much thicker layer for the light to go through, and you should compensate by overexposing for one or two stops to achieve good shadow details.
Patching your film in reverse doesn't imply that you must double expose. If you want to redscale your film you can do so by following the same direction we have given you. The instructions are the same: in the dark, pull the film out of the canister and reverse tape it back. Only you won't expose the film first so you don't need to mark the first frame. You will still need to overexpose your metering.
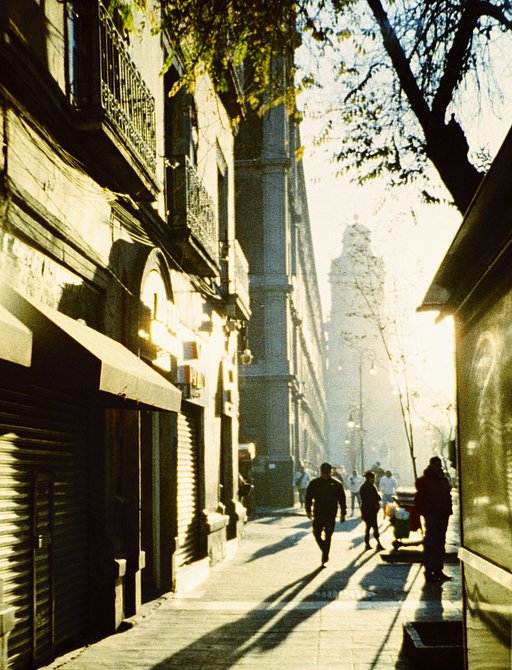
There are plenty of examples on our community of images created by juxtaposition of color and redscale frames. Be inspired and have fun to try to experiment with this technique.
It's worth remembering that when we redscale a film, we take monochromatic images. Colors are altered by the orange shades that pervade your film. It is not unusual to work with tints and monochrome, especially when we print. We can have cyan, sepia tone, solarize, and so on. Perhaps when we work with monochromatic images, we can think of it as if it was a black and white film; and consider shapes and forms with the same attention that we would have when working with black and white.
Tell us about your experiences with redscaling and how did your first time with matching your frame went, by commenting below.
written by eparrino on 2022-07-21 #gear #tutorials #videos #experimental #redscale #experiment #double-exposure #expose-both-side


6 Comments