Creative Use of Daylight Flash With the Diana F+
2 19 Share TweetSunlight can be harsh on your subject, often casting unpleasant shadows. And it is not easy to keep your eyes open when the sun hits your face directly. How can we avoid the obstacles imposed by the sun? And why would we need an additional source of light?
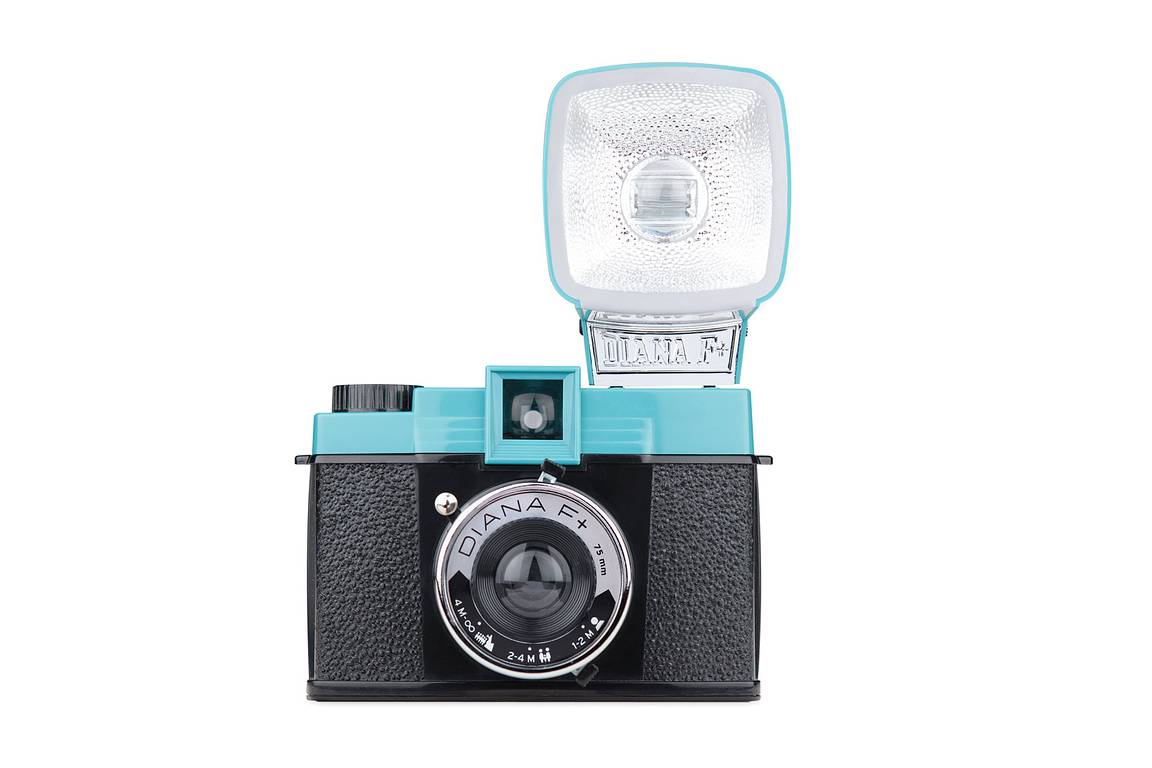
Today we explore the use of a flash in your day photography. We got a Diana F+ Camera & Flash . Plus, to expand our options, we used an adapter to add the possibility of an off camera flash borrowed from La Sardina , Fritz the Blitz 2.0 Flash . For film we used Lomography Color Negative 120 ISO 100.

Flash Light Principle
There are rules that govern the amount, intensity, and quality of the light from your flash. We will not go into deep explanations because we will focus on what our camera of choice and film stock offers us. These factors are our key elements that govern the camera's settings. We will see what we can achieve.
The Diana F+ has a fixed shutter speed at 1/60 of a second, which is also the sinking speed in analogue photography, that avoids curtains blocking parts of the image. Our aperture options are f8, f11, and f16. With our film being 100 ISO, those will be the elements that govern the amount of light in each frame.
How will it affect our image? Let's take a look at each element's role. In analogue photography, unless you can manually set the ISO, this will be fixed at box speed, cutting this variable out of our calculations. We know that with the Diana, our shutter speed is fixed at 1/60 of a second. Making it the allowed amount of ambient light permitted from entering that way.
The only other way to control ambient light is with aperture settings. This will be the main factor that will make a difference in the exposures that we see here. One last factor will be the photographer's distance from the subject.

Move Into The Shade
Our first image in full sunlight, is set at f16, even though she is evenly lit, it shows the effects of the sunlight on her eyes. The shadows mark her face in the areas of the facial expression. To avoid these distractions, we can make some changes and use a flash to correct these imperfections.
One of the first things you can do before turning on your flash is to move your model into the shade. This will help the facial muscles relax, avoiding awkward squeezing. We spotted a corner with a fantastic reflection from a building that served as a source of light. This image was shot at f8.
Use Backlighting
Another trick to help your model is to have them turn their back to the sun, and have you facing the direct sunlight. This is called backlighting. To compose this image and avoid a sun flare in your lens, ruining everything, you should use your model to cover the sun.
Here we can see that at f8 her face is well illuminated, and the background is balanced. The highlights are blown out, but overall this is the exposure where we can get the most out of it. At f11 we are still in a good exposure space, although we start to get slightly darker areas where there are shadows, and the background also gains some darkness. At f16 is where the highlighted areas have better exposure, however we are underexposing both our model and the background.


Frontal Flash
For this example we moved our model into full shade.
Packed with your Diana F there is a flash. It mounts next to your viewfinder, and it will produce a frontal source of light. This is the classic look of a fixed mounted camera flash. This kind of illumination isolates the model face and blocks the background, creating somewhat harsh quality light.
At f8 the image is overexposed a bit ( besides being the first of the roll ), we can see the highlights being off balance. F11 is a well-balanced image, the highlights are correct, and we can see the background where the flash hits. At such a small aperture, without the flash, there is no ambient light registered. F16 is an underexposed image, not enough natural or artificial light passes onto our frame.


Side flash
To get more flexibility and move the flash onto the side to create a different light source, we had to mix and match from the Lomography camera's family. The combo of a Diana+ Flash Adapter and Fritz the Blitz Accessory Kit 2.0 allowed us to shift from the top of our camera to the side, producing a diffused light source.
Fritz the Blitz has three options you can choose as intensity in your flash. We set the light to medium. As a result, we have illuminated the whole scene, including our background, and we have all our elements exposed to the light. It looks like f11 is the sweet spot for our exposure. When at f8 highlights are overexposed, and at f16 are underexposed.


None of these images has been post produced. They come straight out of the scan with a few happy analogue accidents. If you always thought that using a flash in daylight was a digital confined technique, think twice. There are numerous possibilities from the Lomography cameras that will add style your analogue adventures.
Will you experiment with artificial light during the day? Which one of these flash option is your favorite one? Share your thoughts in the comments below.
written by eparrino on 2022-09-20 #gear #tutorials #diana-f #artificial-light #flash-light #day-light-flash-photography


2 Comments