Filming with the LomoKino: A Complete Tutorial on How to Tell a Story with Images
8 14 Share TweetIf you want to make a LomoKino movie and tell a story with it, there is a procedure that has helped generations of filmmakers to get the best out of their projects, here you will a find a step by step guide to acheive your LomoKino goals.
Filming a movie is one of the funniest and most interesting things to do, but it can also be quite frustrating if you don’t know what you’re doing from the beginning. It is a long and very enjoyable process, but it requires some hard work and organization. I’ll tell you how to manage each phase in an easy and entertaining way. Let’s go!
First Things First: The Idea.
They say the filmmaking process starts right in the mind when you’re imagining the final result, that is because everything from now on will depend from the concept you thought about at the beginning. So always keep in mind what you want to say or communicate with your film, and once you’ve decided it, never hesitate.
Although it is natural, doubting of your ideas at the middle of the process can be quite dangerous, the doubt can make you take the wrong decisions when filming. Just stick to your ideas until the end and you’ll be happy with the results.
Have in mind that in the process you may find options or ways to do something that are way better than the ones you had thought, and in those cases go with them. The one thing that should reamain the whole process is the core, the idea; not the way to fulfill it. Always have in mind why you want to tell that story and you will never regret doing it.
And how are you supposed to think of something that will do great results? The best way to come up with a great idea is that you think about things that are close to you, things that you really like and you really matter. Don’t try to do stuff that you think others would like if you just don’t, the results will be terrible if you do that. At the end, the important thing is having fun and enjoying.


The best advice I can give you here is to be creative. Don’t think you can’t do an outer space adventure or an underwater film, of course you can, just be creative and find a simple way to do it. Also, if you’re in the mood, don’t be afraid to do realistic stuff, it can be quite interesting too.
If George Méliès was able to make Le voyage dans la lune when cinema was starting, why couldn’t you make something awesome with the LomoKino?

The Next Step: Shaping the Concept.
So now that you have in mind what you want to tell and why, you should try and define how you’re gonna do it. Is it gonna be an animation? or a live action film? or maybe a mix-up? Doesn’t matter what you choose, if you really want to do it, it’ll come up real good.

It is important to know how you want it to look. What color should it be, is it gonna be simple and you won’t have many things on screen, or you want to do something more crowded.
Also, something that you really need to think in this phase is if you want to have sound or to be mute. Although pure images look great, I strongly recommend to add some sound, the audience is used to it and it helps them to feel the way you want them to feel, a little music can do the trick. If you want to add voice, decide how much and why; remember that with the Lomokino you can’t have lip sync, but it can be interesting to hear some voices over the images.
Another thing to have in mind while producing a film is the lenght of it. You can make it as long as you want (and as much as your wallet can afford) but i recomend to keep it simple and short. That is because of the nature of the LomoKino, it works great with really short stories. Remember that nowadays tv commercials have an average lenght of 30 seconds, and in some cases they manage to tell a complete story with it.
Once you’ve shaped the concept and you have the complete movie in your head, it’s time to put your hands into work.
The Bridge to the Film: Storyboarding.
This is a crucial step into the filmmaking process, it provides you with a visual guide of what you’re gonna film and it saves a lot of time while filming. It also helps you decide what’s the best shot you can use and gives you the opportunity to play with them, you can see how they work together in a group and you can change the order easily, so you find the best way to do it.
It is true that you can go on and film without storyboards, and some professional filmmakers do it, but it is a dangerous way to explore the art. I recommend to do storyboards, you’re not gonna lose much time and you’re gonna have lots of fun.
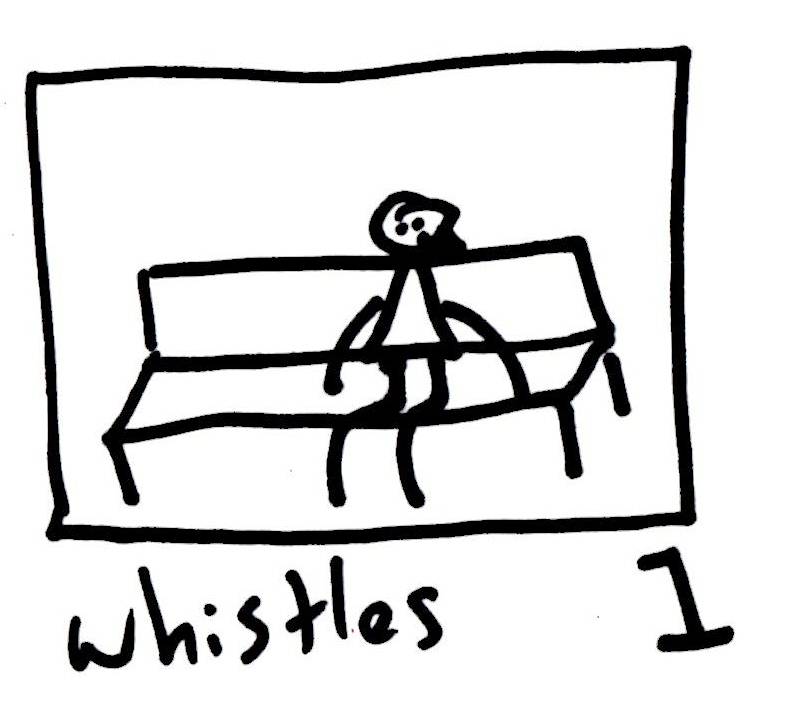
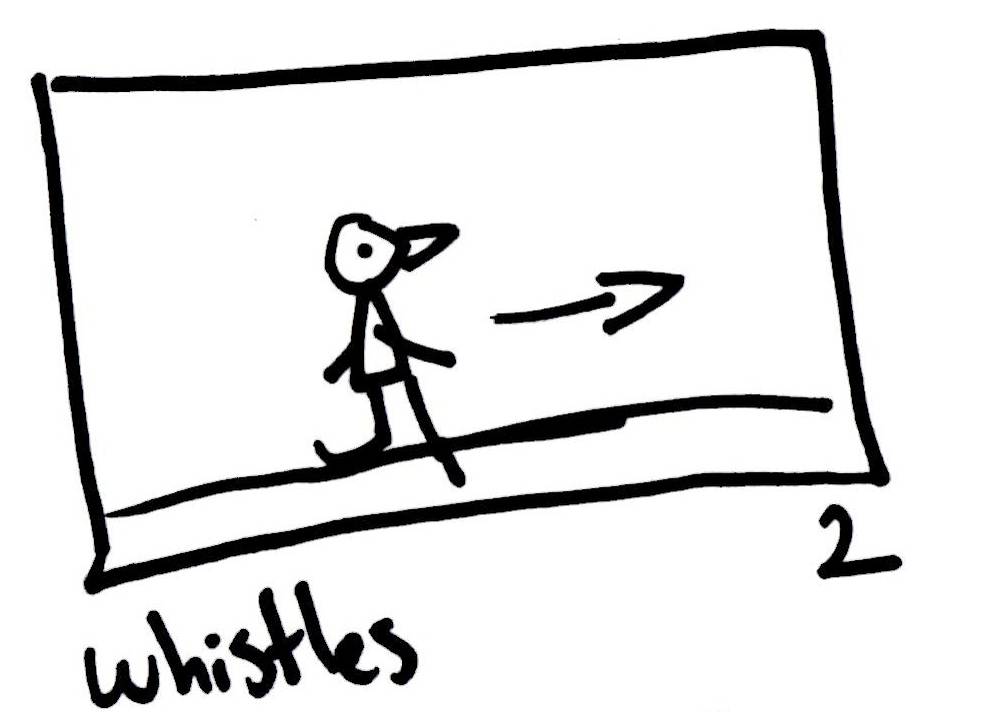
In the storyboard, you draw every shot on paper. You can draw each camera movement, that means a new drawing when the framing considerably changes, or you can be more specific and also do a new drawing when a character considerably moves into the same framing.
The drawings don’t need to be perfect, they just need to be understandable. You can use circles and sticks to do the characters, you can do everything just with geometric figures. It really doesn’t matter. The important thing is that you and the people you work with understand them. Maybe it is just you and your friend or cousin, and they’ll surely understand the drawings.


Also, it is quite useful if, when having sound in the film, you write what is supposed to be heard at the bottom of each drawing. That way, when you get to edit the film and add some sound, you’ll know what to do and it’ll be easy.

You can draw just with a sheet of paper and a pencil. I recommend using a black marker, becuase it looks good with simple shapes and it can’t be accidentally erased. If you don’t feel confident enough to draw with markers, you can first use pencils so you can erase the mistakes and then, when you’re sure of the drawing, use the marker over them.
Some Technical Aspect: Where, When and What to Use When Filming.
Remember when you shaped the concept in your head and decided how you wanted it to look, well now is time to bring those ideas back, they’ll help you take the next decisions.
You already know the color or colors that you want the movie to have, you know if it’s gonna be day, night, indoors or outdoors and you know the length. In the lomography online shop you can find different kinds of films, that may help you achieve your goals.
There’s the Lomography Redscale that can help you achieve some dramatic red scenes, or the Lomography X-Pro Chrome that can give you a great contrast when cross processed. Even if you want your movie to be at night, you can find high iso films that may help you (i recommend a minimun of 800 iso if you want to film at night or indoors with low light). Also, you can use some extra lighting with Fritz the Blitz, that can be quite helpful.


If you have a photography store near to you, go check it, maybe you find all the things you need there (or even more)! So now, even if you want to film at night or day (i recommend day since it is easier) you need to have in mind the following:
- The LomoKino camera only shoots at a 1/100 speed, you can’t change it.
- It has three apertures: f/5.6, f/8 and f/11.
- It is always focused and when needed you can use the close up button, but you can’t do a large scale selective focus.

It is a great camera, the LomoKino, but you need to be aware of its limitations; as well as it creative capabilities.
The Main Event: Filming.
Once you’ve taken all the decisions, filming day has come. It is now time to get your LomoKino into action and shoot!


Remember to choose a day when all the people you’re gonna work with are available and have no problem about going with you.
If you’re making an animation, then it may take some time, but it’ll be worth it. Now, if you’re working with actors, try not to be too hard with them, just tell them what you want and have fun with the results. At the end you’re not making a giant budget hollywood film, so try just to enjoy the filming. If you feel like, let the improvisation comes along, it may be good for the film. Anyway, i suggest you to have your storyboard handy, so you can check it once in a while and remember what you’re shooting next. You can mark the shoots you’ve already done so you don’t get confused (it happens).

Another thing to take into considerations are your partners suggestions, many times while filming someone comes with an idea for the film. In that case, listen to it and maybe it’ll work perfectly with the idea you had in mind at the beginning! My point is that you should not limit the creative potential of the team, at the end, everyone is responsible for the results, not just the director.
We’re humans and we make mistakes, but the less you have, the better. Remember you’re using film and it costs, so it is better if you get the shot quickly and don’t miss valuable film in the process.
Try to work fast and don’t lose to much time, the sun moves quickly and you’ll really miss its light if he’s gone. If you’re working indoors or at night, it may not seem like a problem, but it is always better to work fast. Maybe you won’t be able to finish it and you’ll need another day for shooting, that could be a big problem if the other members of the team or even you are busy the next day.
Now You Wait: Developing the Film.
This step is really easy thanks to the LomoKino 35 mm film. You just go to your friendly neighborhood photo lab, give them the film and wait for it to be developed.
If you feel lazy, you can even go to the supermarket or drugstore! There’s a big possibility that you can develop film there. What a wonderful camera the LomoKino is, making us the process easier so we can experiment the joy of filmmaking.
Just one more thing here, remember to ask them not to cut your negatives (specially if you’re using slides), if you need them to be cut, I think is better to do it yourself.

You’re Almost Done: Scanning the Film.
In this step things can get a little tricky, but don’t be afraid, it isn’t that hard. You’ve got two choices here, ask for the lab to scan it for you, or using a flatbed scanner. I recommend that if you own a scanner or can get acces to one (at school, office, with a friend or family member) you use it instead of paying the lab for it.
I’ll explain why the flatbed scanner is better than the lab doing it. Have you seen those LomoKino movies where the frames seem to change size every certain time?
Well, that’s because of the lab scan. Those scanners are designed to scan standard 35 mm photos. It is supposed that you get 4 frames in the space that’s supposed to be for a single standard picture, well that’s true, but sometimes the first frame starts at the different position or the distance between frames at the film may vary some milimiters. Now, because of that, the lab scan may cut a part of the first and last frame of each “photo”. And that’s why the frame size vary in some movies. No need to worry, there’s nothing wrong with the camera, is because of the scanner.
With flatbed scanners you don’t have this problem, because you choose the size of each image you’ll get. That means that you can scan in groups of 4 but without cutting frames or you can scan each frame individually (that means you’ll be able to skip the next step!)


One by One: Separating Each Frame Individually.
If you decided to go with the lab scan, or didn’t have a choice. Now you have to cut each frame of the film separately. It takes less time than you think, so don’t worry.
Once you’ve finish, I suggest naming them in the order you want them to be in the movie. If you have many sequences, I suggest saving each sequence in a separate folder and, again, naming them in order.
Actually, the best thing you can do is dividing your frames into the shots you drew in the storyboard, that means you’ll have a folder of each shot. That’ll make the work a lot easier. At the end you may end with a big folder of the movie, then folders of every sequence and subfolders of every shot you did.


Organizing your stuff is crucial for it to be an easier editing.
Last Step: Editing Your Film.
If you’ve got no sound, it’ll be quite easy. You can find ways to do it in different softwares in a really simple way.
You can find them here: iMovie, MovieMaker, Premiere and FinalCut.


If you’ve got sounds or music, then I suggest you first follow the steps as if it had no music and then, once you’ve got your complete movie running you add the sound. There’s no difficulty in it, as you have no lip sync, you can have fun with sound and put it wherever you want.
The Big Premiere: Showing Your Work.
Wow! You’re done. It is done. What a great experience. Now you can upload to vimeo and post it to the Lomography website so we can enjoy it.
Or maybe you want to show it to your friends and family! You can gather them at your living room, buy some popcorn and have a premiere on your own house! Wouldn’t it be really cool? You can even shoot with the LomoKino when your love ones are watching your movie and make a beautiful memory out of it!
✘ Vimeo: https://vimeo.com/36675104
With the LomoKino you have countless possibilities, so don’t be afraid and shoot! I can bet you won’t regret it!
Note: If you want to make a movie for you to watch with the LomoKinoscope, remember it only uses one roll of film at a time and you can’t edit (unless you cut parts and stick them together, but it is a whole of a problem) so think of something that you can tell in a single roll of film (30 seconds aprox.). Don’t forget you need to use slides and they can’t be cross processed in order to have them in positive.
Ps. If this guide is useful to you and manage to make yourself a LomoKino movie. It’ll be nice if you post it in a comment so we can watch it and enjoy it too!
If you have any more doubts or want to read some more about the LomoKino, you can go the microsite and visit the production notes.
Enter a new analogue dimension with the LomoKino. Lomography’s own 35mm analogue movie camera allows you to capture action and immortalize your story on film! Shoot 144 frames on any 35mm film and create your own cinematic masterpieces. Want to watch your movie the old-school way? We also offer the LomoKino and LomoKinoscope package!
written by antoniodezner on 2012-03-01 #gear #tutorials #videos #art #camera #tutorial #tipster #filming #how-to #getting-ready #storytelling #lomokino


8 Comments